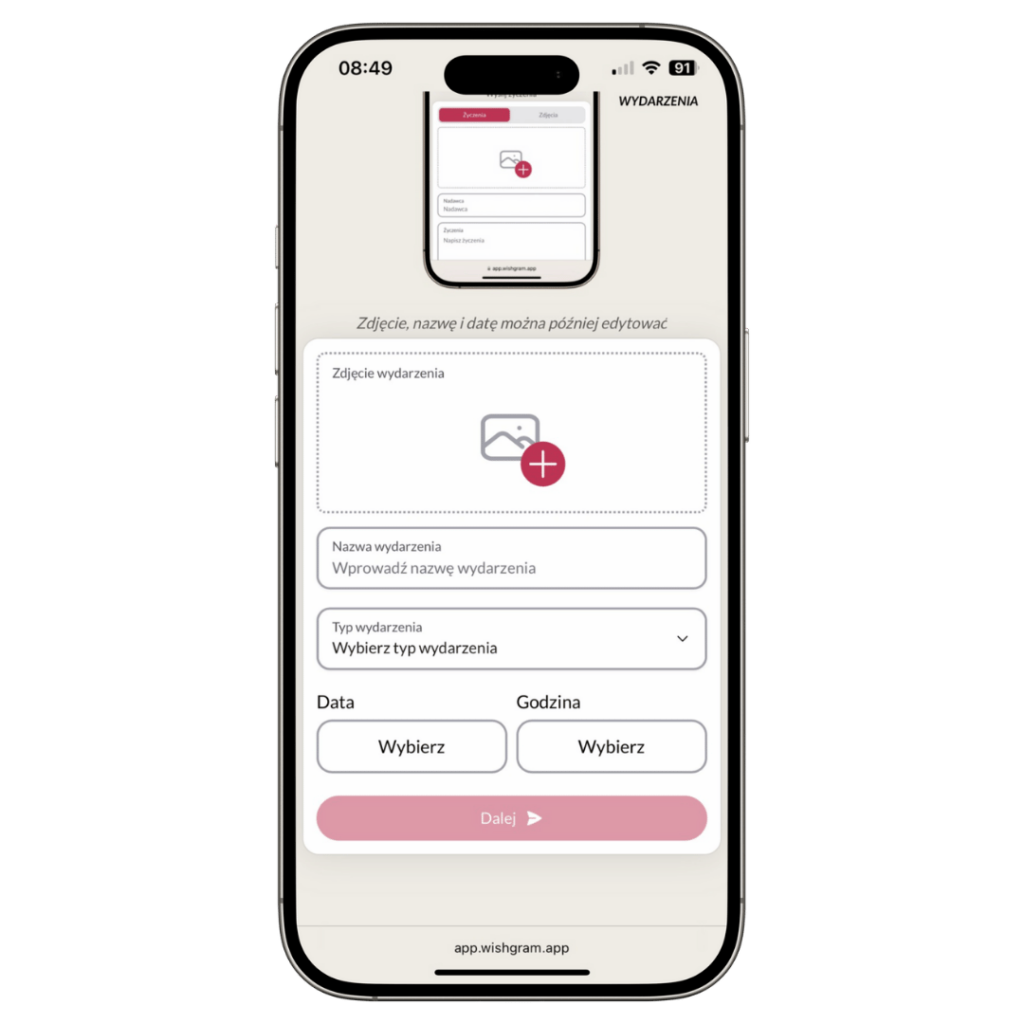
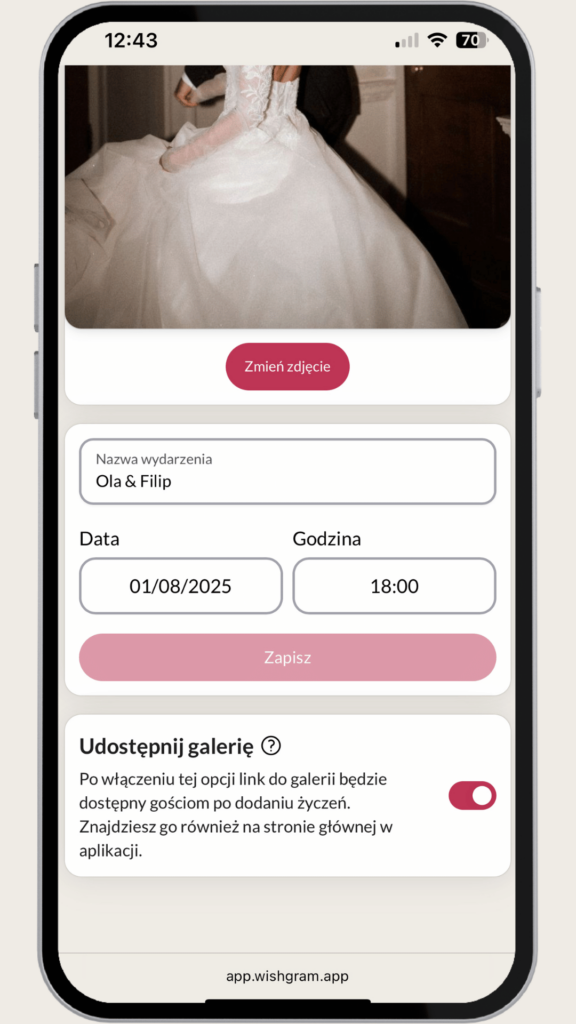
Enter the name and add a photo that will be visible to guests when leaving wishes, select the type, and set the date and time of the event. From that moment guests will be able to submit their wishes.
3. Personalize the event
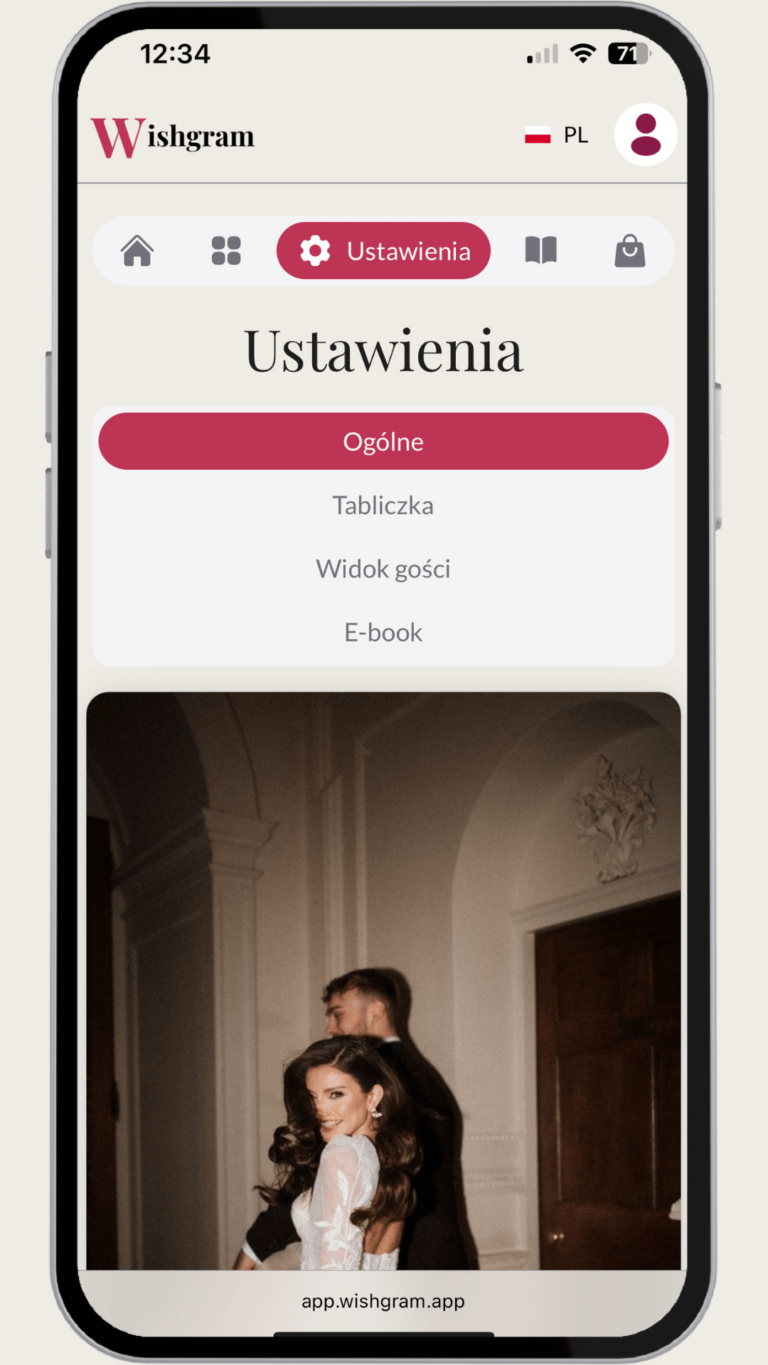
You can customize the appearance of the e-book, the screen guests see, and the table sign. You can edit this later. A detailed description of how to personalize each element can be found later in the manual.
4. Download the table sign
Download the table sign and place it in a visible spot so your guests can easily notice information about the app. You can also download just the QR code and place it on invitations or other decorative items.
5. Start of the event
Wishes can be submitted from the start of the event. Guests can do this by scanning the QR code or clicking the direct link. Inform them about this option and encourage them to share their memories and wishes.
6. Sending wishes
After scanning the QR code or opening the link, your guests will be able to send wishes, photos, and videos.
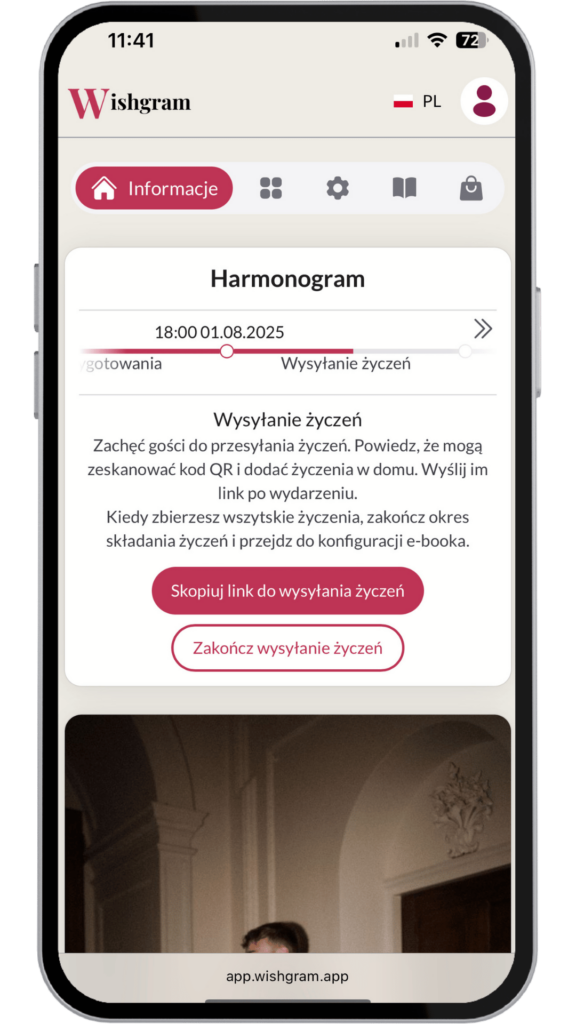
7. Ending wish collection
Your guests can submit wishes until you decide to close it. To end wish collection, go to the main menu and in the Schedule section click the “End sending wishes” button. Only after closing submissions will you be able to configure the e-book.
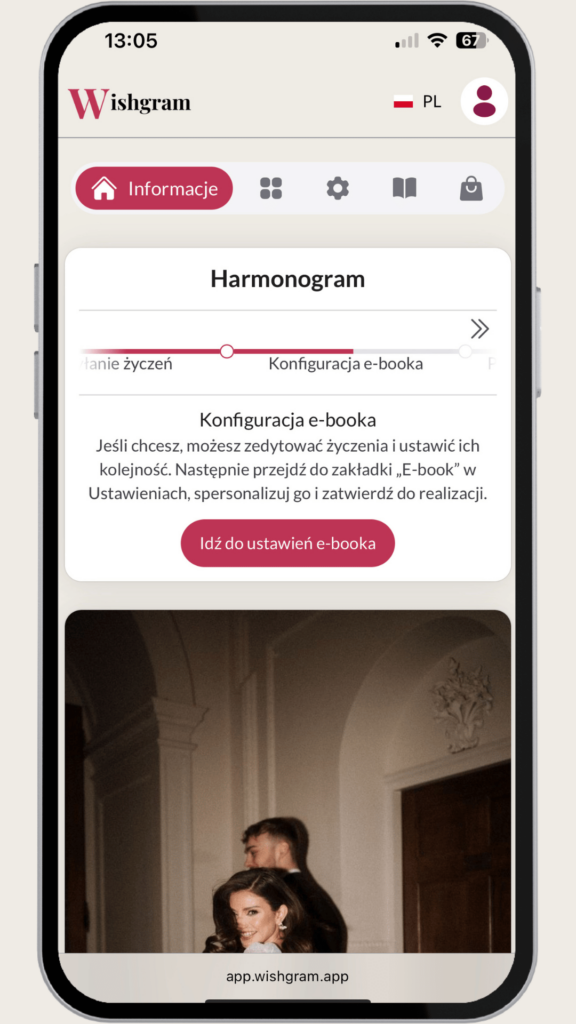
8. Creating the e-book
After finishing wish collection you can fully personalize your e-book in Settings. Choose from various available templates, overwrite the information, add a photo at the end, and even change fonts according to your preferences. After finishing customization, approve the e-book for production using the button at the top of the page.
We will prepare the finished e-book in about 5 minutes. The file will be available for download in the app, and we will also send you an email notification when it’s ready.
Additional features
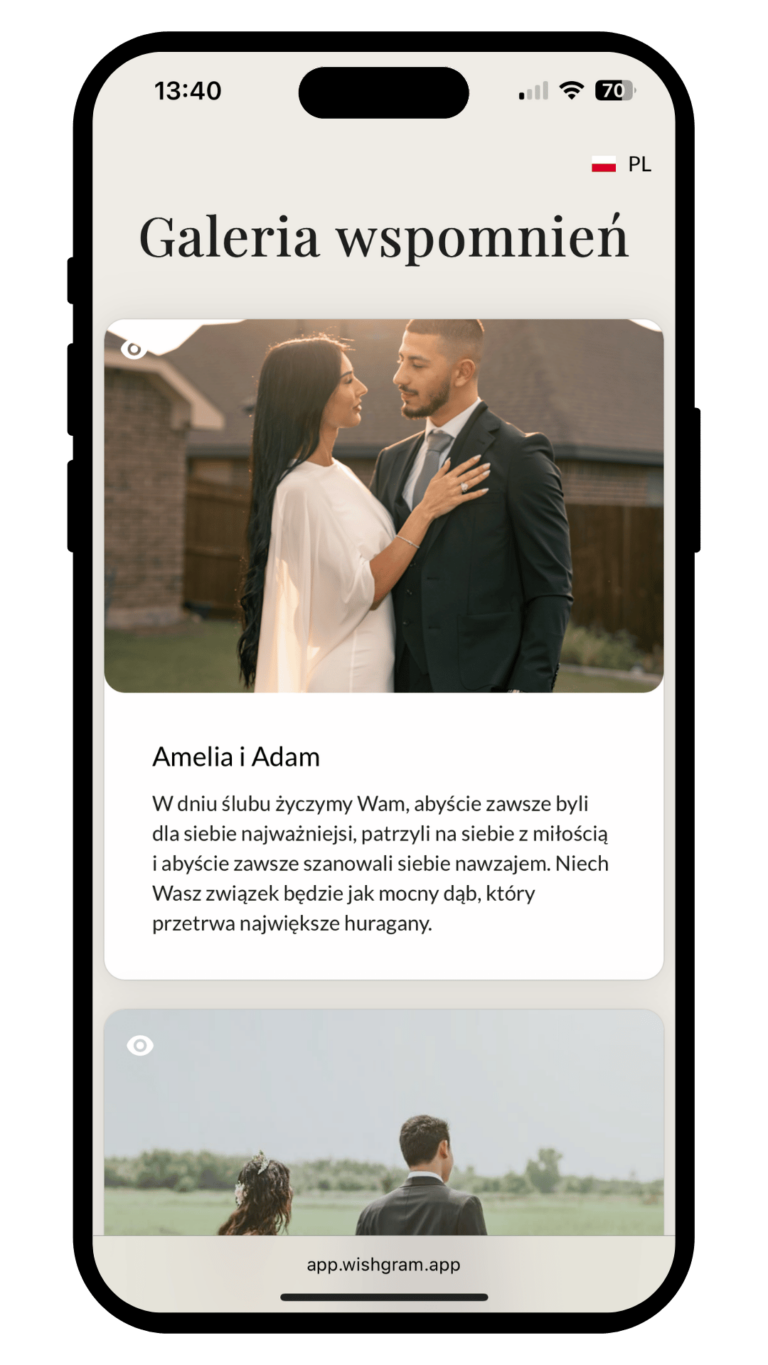
Memory gallery
After submitting wishes, guests can view memories (photos and wishes) from other event participants.
The Gallery link can be found: in the app after purchase, on the thank-you page after submitting wishes.
Enable the memory gallery for guests
To activate the memory gallery for guests, simply enable the Gallery in Settings → General (at the bottom of the page).
Preview of submitted memories
During the event you can preview live who submitted memories. You can ask loved ones to make sure the most important people send their wishes. From here you can also download files, edit, or delete wishes.
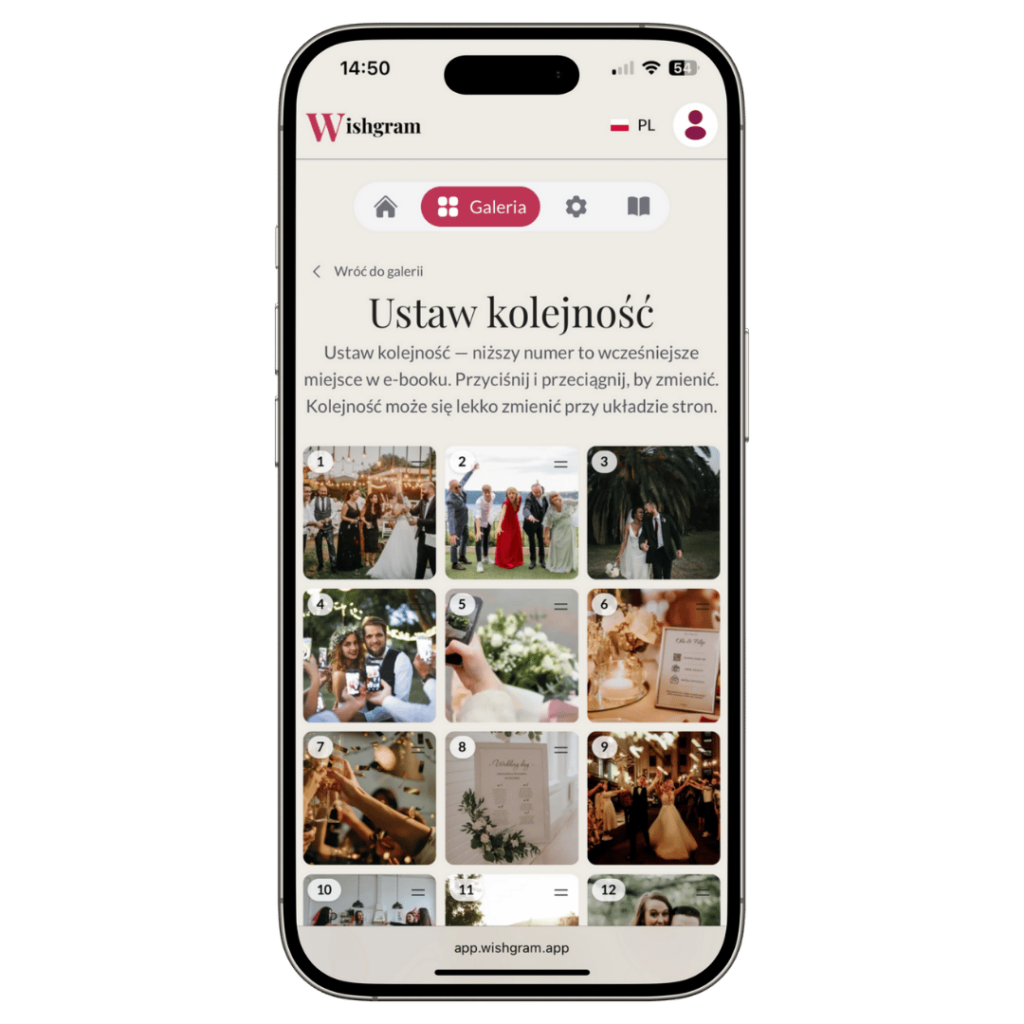
Change the order of memories
Arrange wishes in the desired order before generating the e-book. Go to Gallery → “Set e-book order”. Press, hold and drag to change the order of memories. Finally, don’t forget to save the changes!
Change settings
The event settings you selected when creating the account can be edited at any time, except for the event date after it has started.
Personalize the guest view
Choose a color palette that matches your event or select colors manually. Change the message on the wish-sending screen and on the thank-you screen. You can also choose a different photo for the thank-you screen and adjust fonts. You have a full preview of how the memory sending screen, the thank-you screen, and the guest gallery will look.
Personalize the table sign
Adapt the table sign to your event theme. Choose a template, adjust the colors and write your own text, and even pick the fonts. What if none of the color options fit? You can manually choose the color of each element.
Share the e-book
Generate a public link to your e-book to share memories with your loved ones.
Schedule
The main page of the app contains a schedule. It shows the current stage of your digital guestbook and suggests which actions should be taken next.
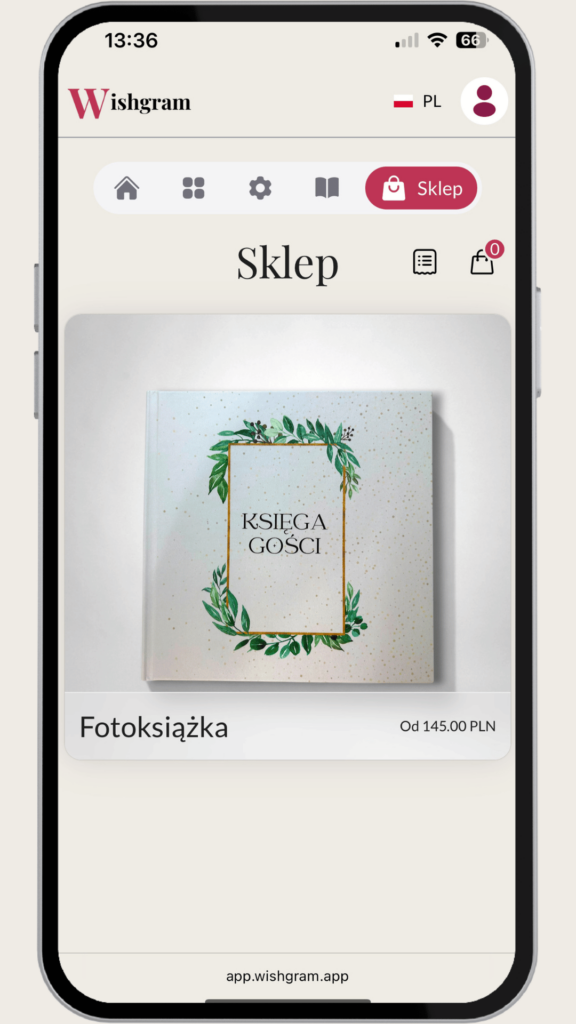
Shop
The app includes a shop where you can order a photo book and additional items that enhance the digital guestbook experience.